FlickRocket is the most fully featured platform for monetizing and distributing content securely and now you can offer eLearning courses with or without assessments using our new Learning Management System (LMS) functionality.
If you have already created a SCORM 1.2 package, you can upload those directly to a new SCORM product in FlickRocket. If you need to create the course, we host the ADAPT Authoring Tool for creating your course and SCORM package.
You can use any videos that are already in your shop catalog or you can upload new videos for the course. The courses are Digital Rights Management (DRM) protected, so screen sharing and recording are still prevented just like any other content in your shop.
In addition to hosting the ADAPT Authoring Tool, we have developed some automated course creation options that allow creating multiple choice assessments and you can even include a video clip for each lesson. Just enter the course data into a spreadsheet, import, and tweak if desired. You can even import the course data, create the course, and upload to a SCORM product with only a couple clicks.
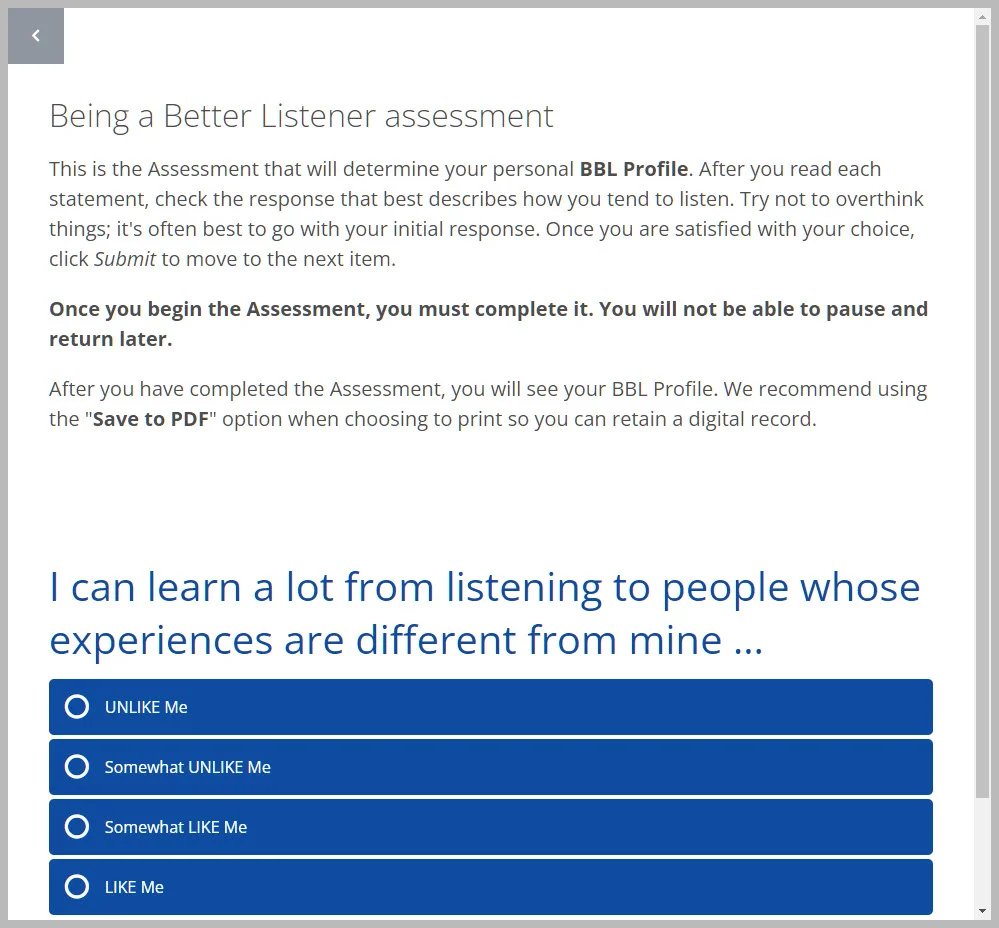
The screenshot below is from a course developed with the ADAPT authoring tool.
To create a new course, login to the FlickRocket admin and go to CMS/LMS>LMS>Courses. You can use the ADAPT authoring tool to create a course from scratch or to modify an existing course. You can also use the guided course creation options to automatically create the course.
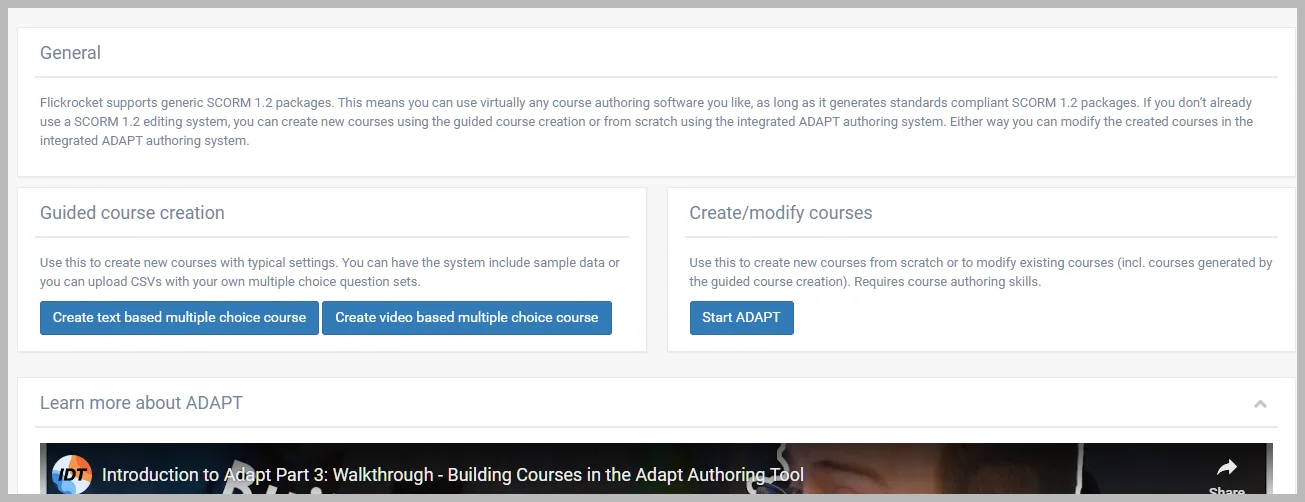
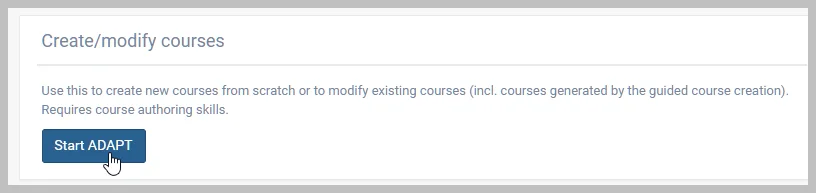
The ADAPT authoring tool is hosted on FlickRocket and accessed via the FlickRocket admin. ADAPT is open source eLearning authoring tool. The ADAPT authoring tool can be launched by going to CMS/LMS>LMS>Courses and clicking in the Start ADAPT button.
Documentation, forums, and links to information about using ADAPT can be found at the ADAPT home page or by clicking the Learn more about ADAPT section at CMS/LMS>LMS>Courses.
Please note: ADAPT is a free, open source authoring tool and is hosted on FlickRocket for your convenience. FlickRocket does not provide training or support for the ADAPT authoring tool.
Creating a guided text course
The guided text course function automatically creates a multiple choice assessment from the data provided in a .CSV file. The number of questions and answers are not limited and the assessment can be timed. Sample .CSV files are provided to show the required data.
To create a guided text course:
Go to CMS/LMS>LMS>Courses
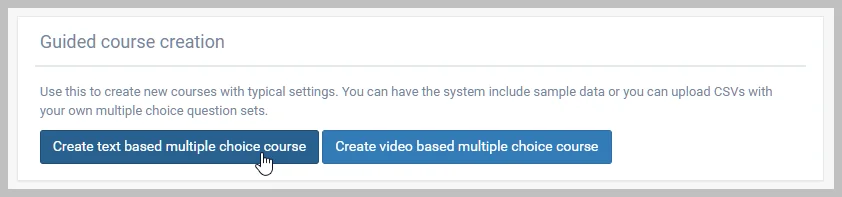
Click Create text based multiple choice course
In the General section, enter a Name for the assessment
In the Assessment section, choose if the assessment will be scored by percentage of correct answers or on total points scored for each answer.
If scoring the assessment, enter a minimum passing score or percentage in the Passed Threshold field.
If the assessment should have a time limit to complete, enable the Timed checkbox and enter the total seconds allotted to complete the assessment.
In the Results section, you can enable showing whether the question was answered correctly or not and whether the results of the assessment are sent to the LMS for tracking.
In the Import section, click the Samples Download to download one of the 3 sample versions of the CSV file. The choices are Basic, With Scores, and With Scores and Feedback. You can modify one of these CSV samples to create your own CSV for importing.
When you have your CSV ready, click Import and browse to your CSV file.
In the Create section, click Create course and download
Once the course is created, you can use the Preview button to view the assessment or the Edit button to modify the course in the ADAPT authoring tool. If you have already created a SCORM product in your FlickRocket shop, you can enter the product name or product ID and click the Create course and import to product to skip the manual upload process.
The guided video course function automatically creates a multiple choice assessment with a video from the data provided in a .CSV file. The course can contain multiple lessons and each lesson displays one video clip followed by questions that must be answered before the next video is displayed. A start and stop time and the FlickRocket product ID are set in the CSV file. Sample .CSV files are provided to show the required data.
To create a guided video course:
Go to CMS/LMS>LMS>Courses
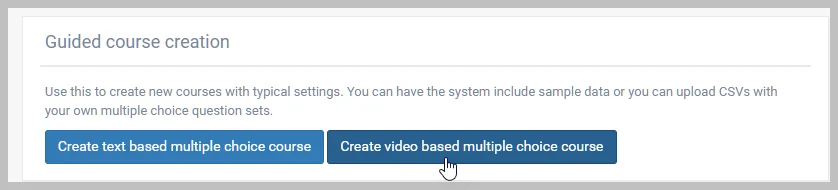
Click Create video based multiple choice course
In the General section, enter a Name for the assessment
In the Video + Multiple Choice Questions section, select the following:
In the Results section, you can enable showing whether the question was answered correctly or not and whether the results of the assessment are sent to the LMS for tracking.
In the Import section, click the Samples Download to download one of the 3 versions of the CSV sample. The choices are Basic, With Scores, and With Scores and Feedback. You can modify one of these CSV samples to create your own CSV for importing.
When you have your CSV ready, click Import and browse to your CSV file.
In the Create section, click Create course and download
Once the course is created, you can use the Preview button to view the assessment or the Edit button to modify the course in the ADAPT authoring tool. If you have already created a SCORM product in your FlickRocket shop, you can enter the product name or product ID and click the Create course and import to product to skip the manual upload process.
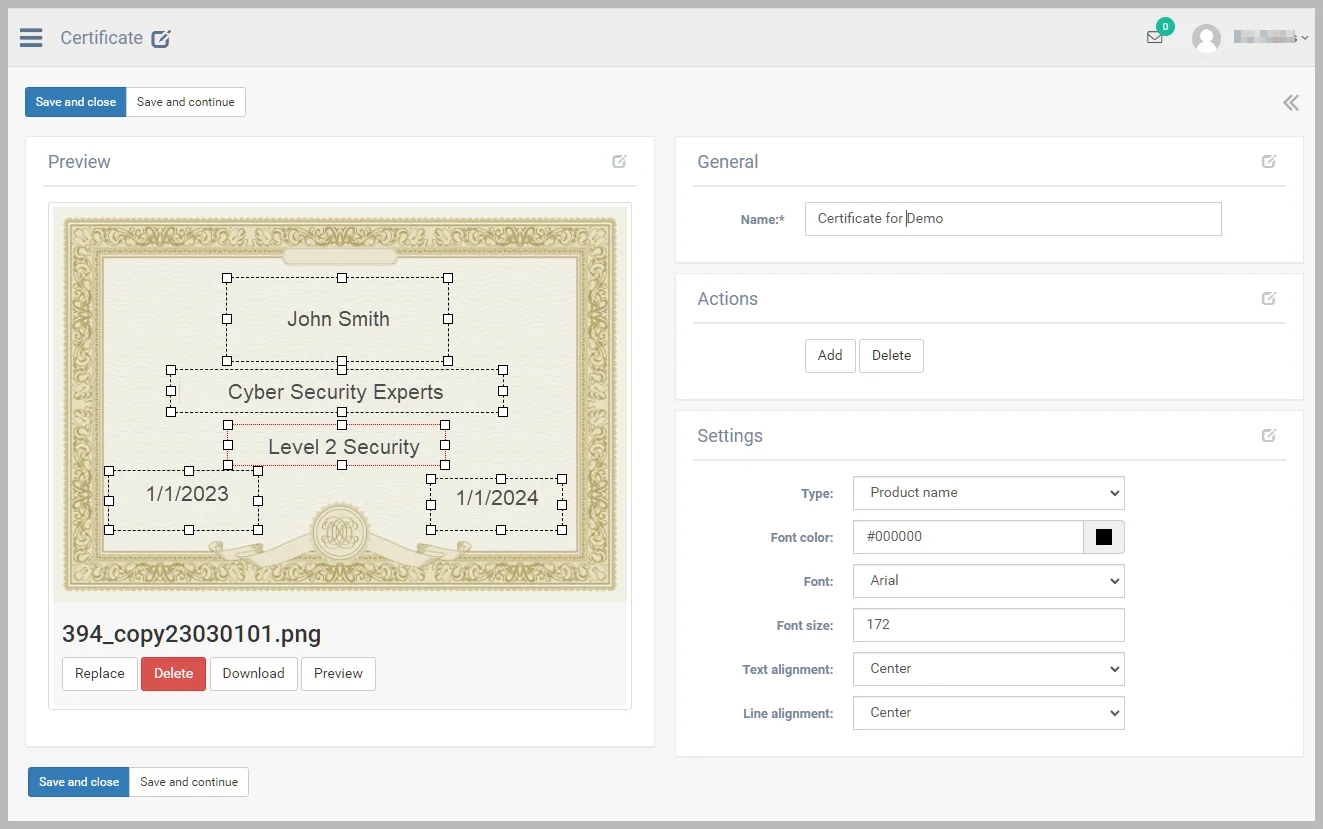
Providing a certificate upon successfully completing a course may be required by your clients. FlickRocket provides the functionality to upload your own certificate images and automatically populate the certificates with the course taker's name, successful completion date, expiration date, your company name as the company certifying the course completion.
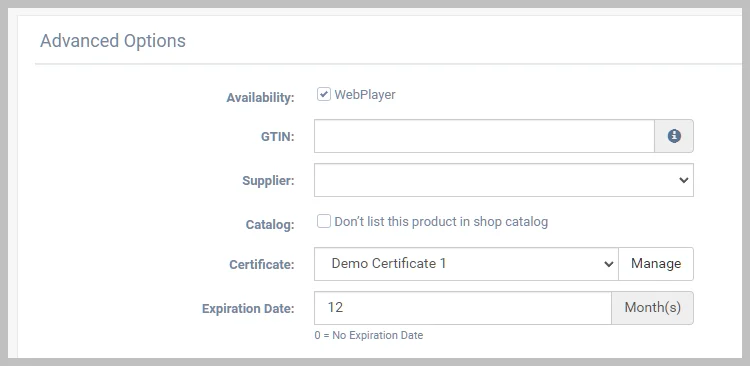
The SCORM product configuration page allows selection of one of the available certificates as well as entering an expiration period from the date of successful course completion.
Whether a certificate is made available to the course taker is set in the product configuration page.
To add a certificate:
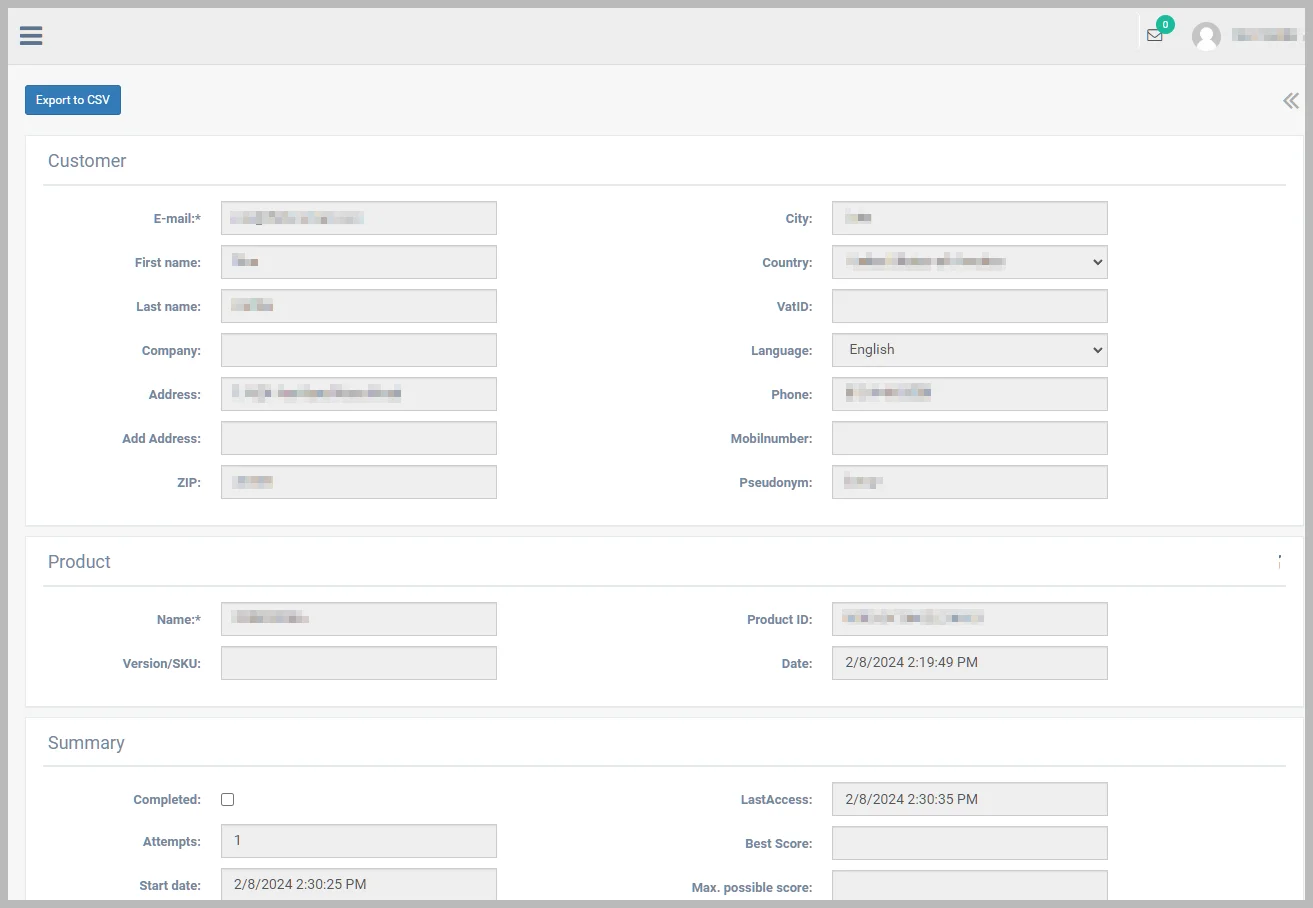
You can view the complete assessment results, search, and export to .CSV. Basic results are displayed by selecting Details. The complete results can also be exported to CSV.
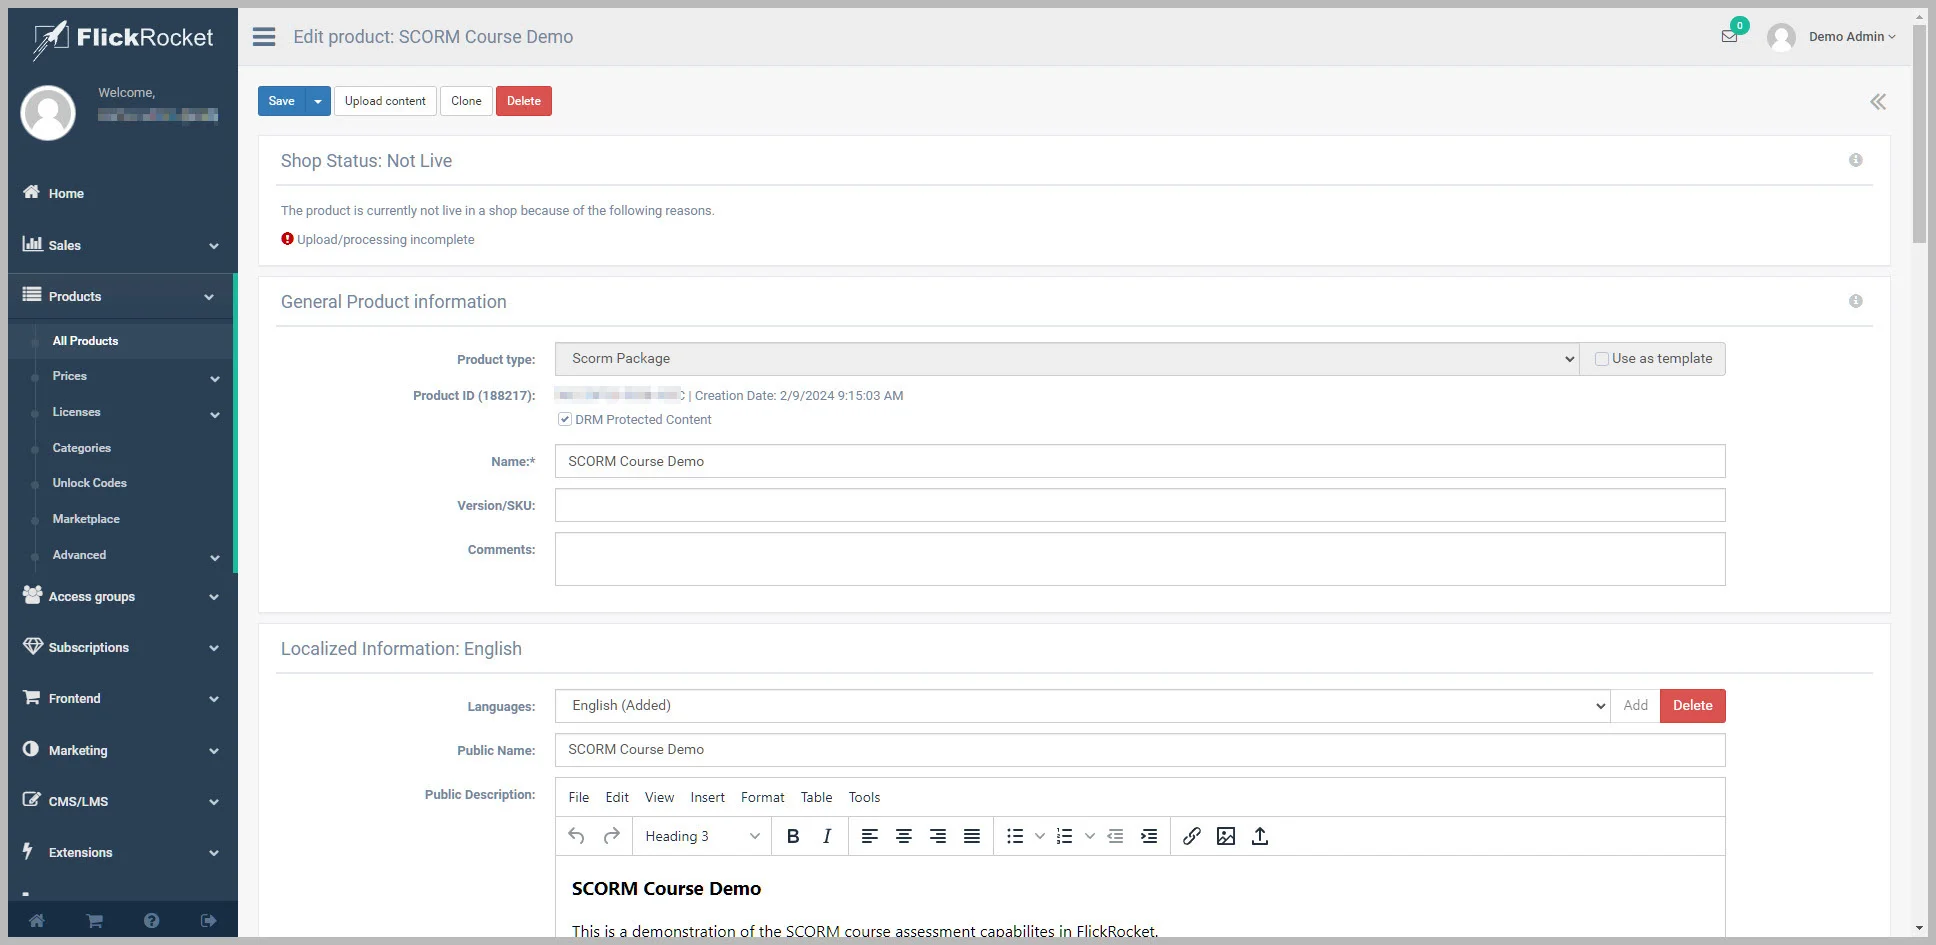
To offer a SCORM product via your FlickRocket shop account, you must create a SCORM product and upload the SCORM package to that product. All of the information except the Product ID and whether the content is DRM-protected can be changed later.
To create a SCORM product:
The SCORM package zip is then uploaded to the server, checked, and placed in queue to be uploaded to the Content Distribution Network (CDN). You will receive one email to acknowledge receiving the upload and a second email when the content is ready on the CDN.
SCORM products can be obtained via shop purchase, invitation, unlock codes, and manual order.
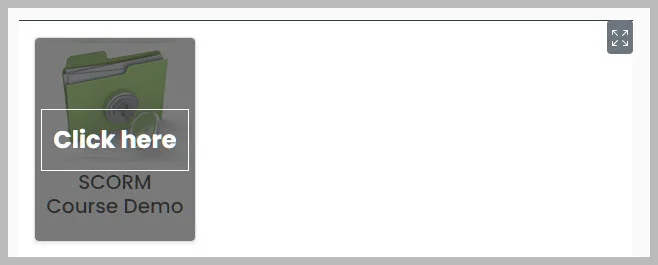
The SCORM course can be accessed through the Web Player using Chrome, Firefox, Edge, or Safari. The Login button for the Web Player is in the Quick Online Access section of the My Content page in your shop. SCORM courses can also be accessed using the player apps, however unlike other types of digital content, an internet connection is required when viewing a SCORM course. If a certificate is available for the course, a link will appear in the product description area once the course has been successfully completed.
Access to the course can be restricted depending on the license and SCORM course options set during course creation.
When an order quantity is greater than 1, the product is not automatically assigned to the customer's email account. It does not make sense to add multiple copies of a digital product to an account as the customer would still see only one product. Instead, the purchaser is provided with an Unlock Code. The code can be redeemed to a new or exiting account or even by the purchaser. The same code can be used to unlock the product on the number of accounts equal to the quantity purchased. For example, a purchasing agent could purchase a quantity of 10 and then provide the code to a department manager who could give the code to 10 employees. Each employee could redeem the code once on their own account and use their own email address and password to access the content.
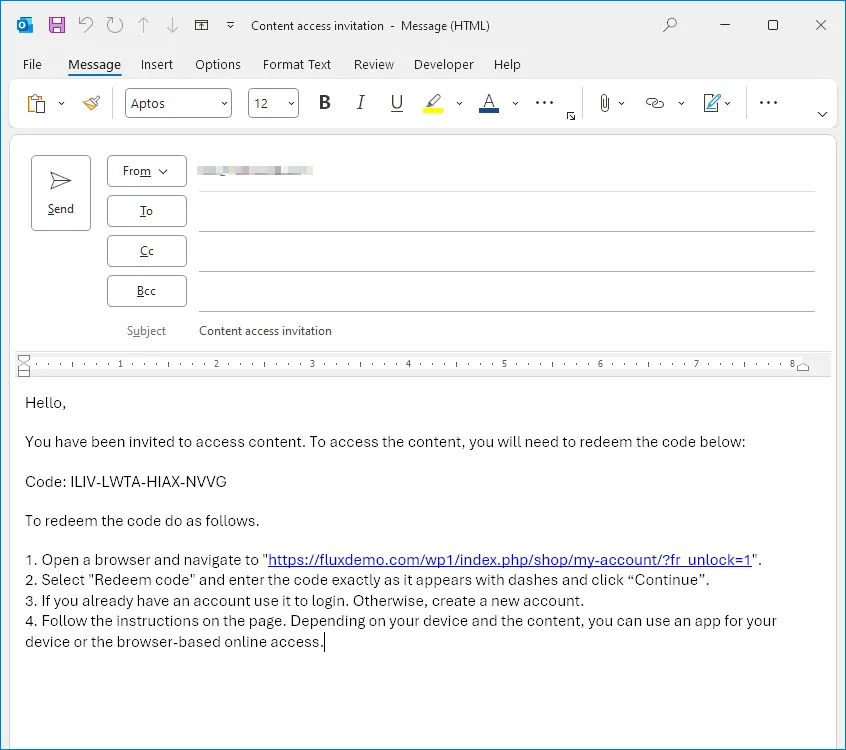
The code and redemption instructions are provided to the purchaser in the order confirmation email, however the purchaser can also find the code and instructions by opening the product on the My Content page.
After the product is open, the purchaser has several options for distributing the code including redeeming the code to their own account, copying the code to paste in another document, sending individual pre-populated emails, and automatically sending bulk emails.
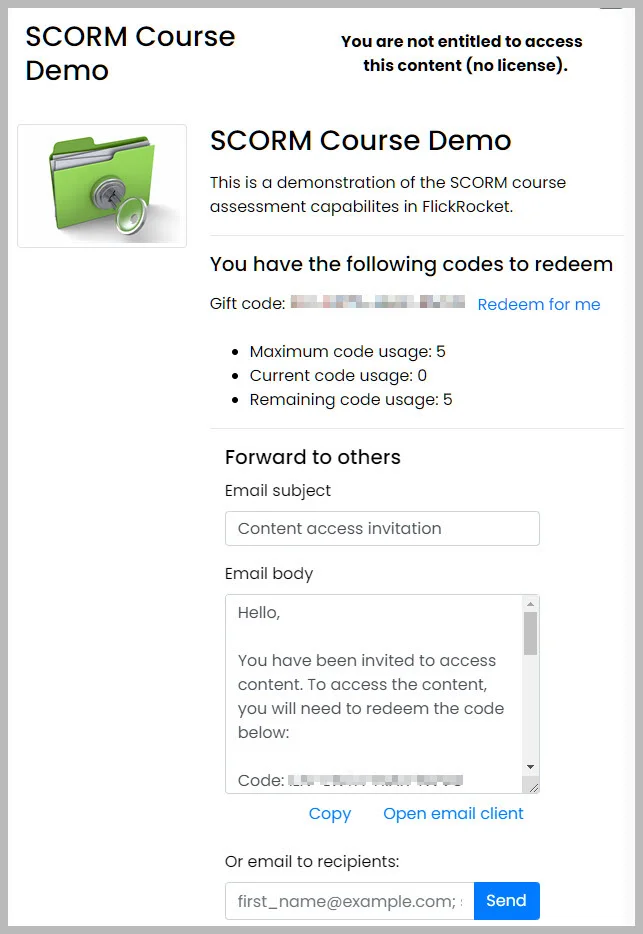
Redeem for Me - Clicking this option will redeem one of the available codes to the purchaser's account.
Forward to others - This option presents an email subject field, body field, and recipients field. The text in any of these fields can be modified and provided to others by using Copy to copy the text to the clipboard. Using the Open email client option will open the default email client with a pre-populated email ready to send.
Email to recipients - Emails, with any modifications to the text, are automatically sent when you populate this field with the email addresses of those that should receive an unlock code. The email address must be separated by a semi-colon.
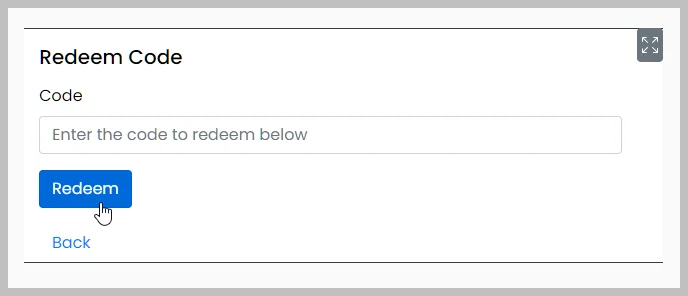
The unlock codes can be redeemed by clicking the Redeem Code button on the My Content page and entering the code exactly as it appears with dashes.
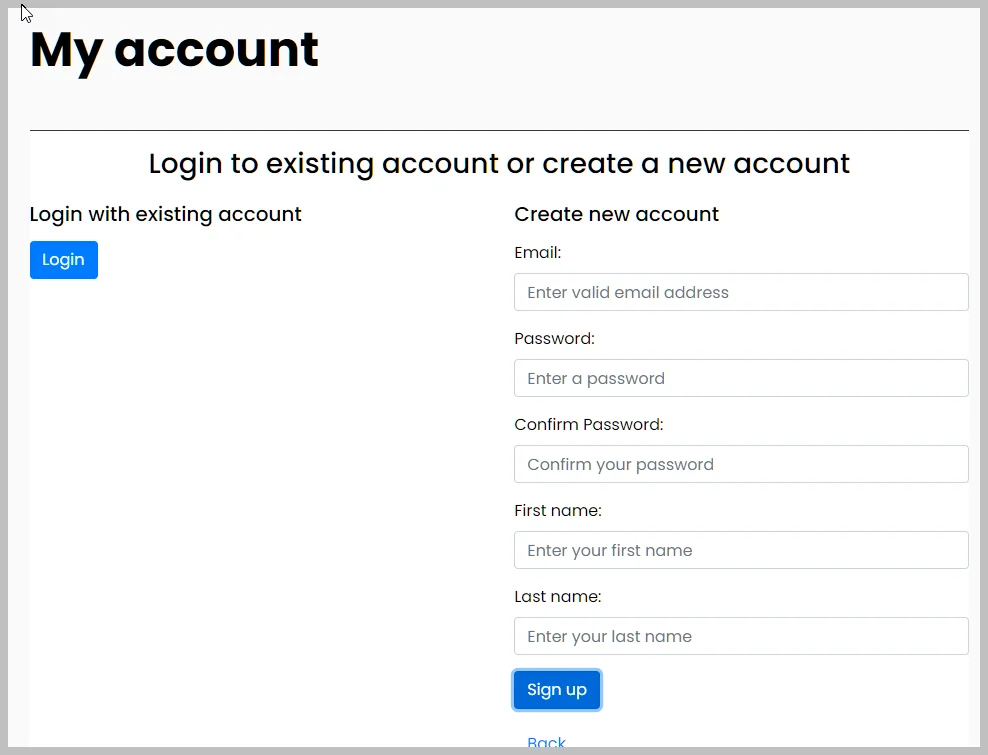
During code redemption, the person redeeming the code can enter their email, a password or their choice, and their first and last name. The email and password will be the login credential for both the Web Player and the player apps.
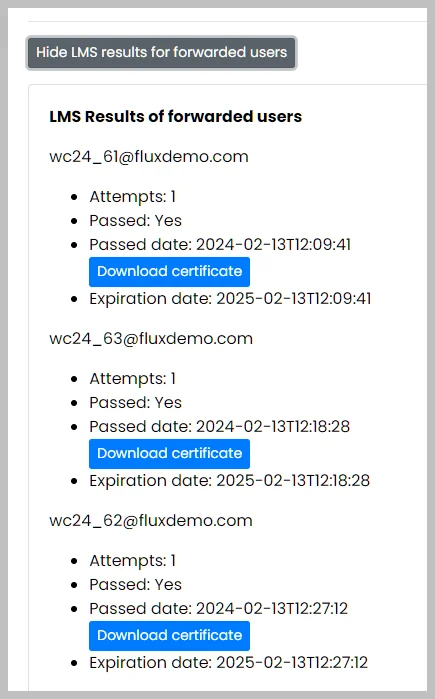
Each assessment taker can review their assessment results immediately after the assessment in the product description area of the Web Player or player apps. If they have taken different courses, they will be able to view the results for all courses taken and download the associated certificate if one was available for the course.
A manager may also need access to those results and/or certificates. The manager will have access to those results if they are purchased under the manager's email address and the manager forward's the unlock code the employees.