Audio (Package)
The Audio (Package) product type is used when you want to protect your audiobook or music tracks from unwanted sharing and piracy. If you want to allow the audio to be shared, then choose the product type of Audio (Album) or Audio (Tracks) instead. Albums and Tracks are not DRM-protected.
You can upload a single MP3 or a folder of MP3 files as one product. During the upload process, you will have the choice of setting the product up as an audiobook with each MP3 as a chapter or as music with each MP3 as a track.
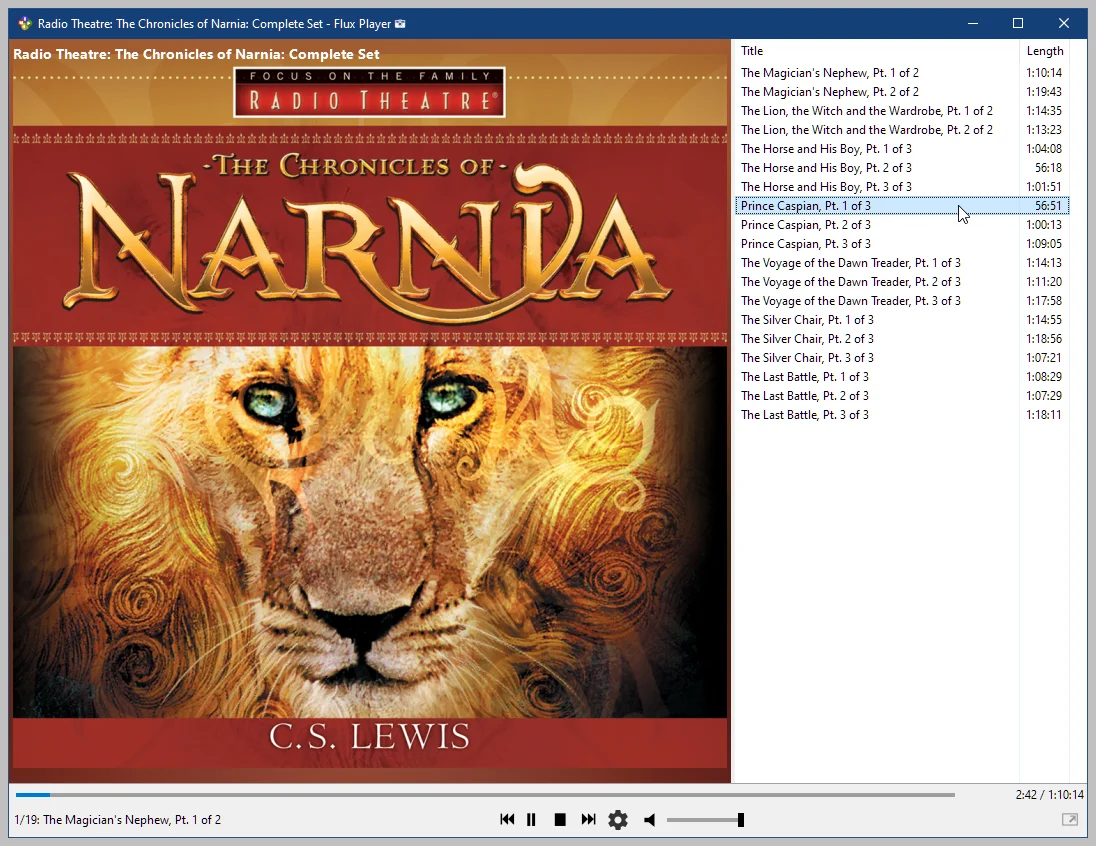
When the customer streams the audio in their browser or uses the player apps, they will see a playlist for each chapter and can navigate directly to a chapter or track using the playlist menu.
Preparing DRM-protected audio content
You may need to prepare your MP3 audio files prior to uploading. The source audio files must be in the MP3 format.
Bitrates
Any bit rate, in either variable or constant bit rates, are acceptable.
Sort Order
If your music or audiobook product will contain more than one chapter or track, you will need to make certain the MP3 files are named so they sort alphanumerically in the desired playlist order. To force the sort in the desired order, prefix the filename with a number such as 01, 02, 03… 09, 10, etc. to force the sort order.
Make certain to add a leading zero to numbers 1 through 9 (e.g.) 01, 02, 03 or the files will not sort in the correct order when uploaded.
Only the Title set in the metadata will been seen. The file name will not be seen by the customer, so the filename is only important for the sorting order.
Each MP3 audio file must have the Title set in the file's metadata. Only the title will be displayed in the players and seen by the customer.
There are many free applications available to set or check the metadata in the MP3 file, but you can also do this with Apple’s Music app or using the File Properties in Windows as shown below.
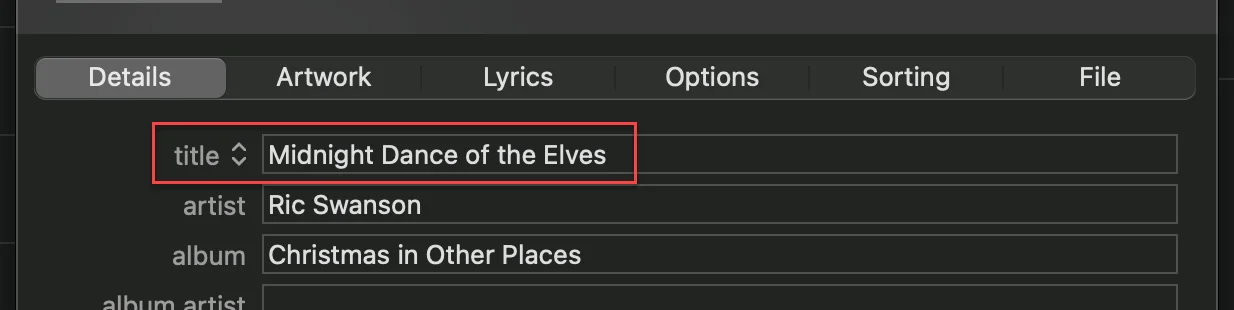
To enter the Title on macOS
- Select the MP3 file
- Right-click and choose Open with Music
- Change Music to display Songs.
- Right-click on the track and choose Get Info from the pop-up menu
- Enter the Title in the field
- Click OK
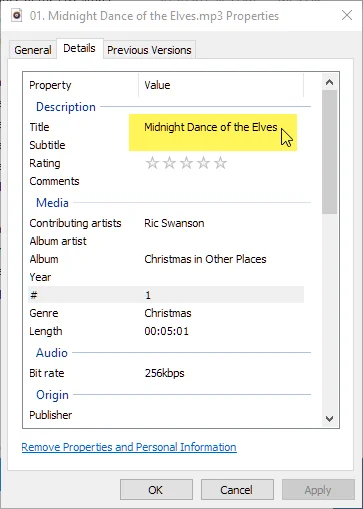
To enter the Title on Windows
- Select the MP3 file
- Right-click and choose Properties
- Choose the Details tab
- Enter the Title in the Title field
- Click Apply
To create an Audio (Package) product
- In the FlickRocket admin, go to Products>All Products
- Click the New Product button
- Select Audio (Package) from the Product Type dropdown list.
- Enter a Name for the product
- Enter a Version or SKU if you have that information. It can also be added later.
- Add any Comments you may want to store with the product. (Only admin users will see these comments.)
- Enter the Public Name for the product. (This should typically be the same as the product name in the General section, but it can be different.)
- Enter a Public Description of the product. (This product description will appear in your shop and the players.)
- The Text for purchase email is optional and can contain text that will be included in the order confirmation email. (This is only available when using the FlickRocket frontend. It is not functional for 3rd-party shopping carts.)
- Click Upload to add an image. This image will show in the shop and the players. In addition to being displayed when the audio is playing, this image is important for quick product identification and your branding, so you should not skip uploading an image even if only to be replaced later. Make sure you have a cover image with a minimum resolution of 600 pixels. A 1024 or 2048 square pixel image is recommended. The higher resolution will look better since this image, when displayed in the player, fills most of the screen.
- The Search Engine Optimization (SEO) is optional, but it is important to add this information to attain the highest search position. Mozilla has a great guide for beginners learning SEO at https://moz.com/beginners-guide-to-seo.
- In the License Assignment section, select a license and click Add. Then select a Price Model from the dropdown list. (Repeat if offering multiple licenses with differing options at different price points.)
- If you have created categories for your shop, select the desired Category and click Add. (Repeat if the product should be assigned to multiple categories.)
- Leave the Domain Assignment set to All Themes unless you have added more than one theme to your shop.
- Leave the Group Assignment set to the default values unless directed otherwise. Groups are used for shop, subscription, and access group content distribution methods.
- The Meta Information section options will vary depending on the product type. For Audio (Packages), you can Listen to the audio Preview, enter Bibliographic Information such including genre, author/composer, speaker/artist, year, and other product specific credits, and add additional artwork. Another option is the Audio Titles/Edit function. With the function, you can sequence chapters/tracks and change the track/chapter name.
- If you have set up Attachments, you can add them in this section. Attachments are used to provide supplemental non-DRM protected files such as docs, spreadsheets, and PDFs to the end user. For example, a personality assessment might include a PDF attachment on intrepreting the assessment results.
- The Attribute Set section is not required for Audio (Package) products and is typically used when offering items such as T-Shirts where size and color must be specified.
- The Availability section controls when the product will display in the shop catalog. It does not affect content obtained by unlock codes, third-party shops, list import, or manual order entry. The exception is when Enable Pre-Order is selected. That option will prevent access to the content until the release date via web player and player apps.
- The Tax Calculation section is optional and requires purchase of the TaxCloud app and subscription to that third-party service.
- In the Advanced Options section, there are the following options:
- Availability - The Web Player should be enabled to allow access using a web browser.
- GTIN - This field is optional and can be used to add product codes for UPC, ISBN, EAN, JAN, and ITF-14.
- Supplier - This is a special feature to help supplier maintain component inventory for products. It is optional and would rarely be needed for SCORM products. You can select the supplier if you have purchased the app and set up the feature.
- Catalog - Enabling this option removes the product from the FlickRocket shop catalog and creates a "secret" link to purchase that product. It has no effect on third-party shops.
- Click the Upload content button at the top or bottom of the page.
- Browse to the MP3 file or the folder containing the MP3 files or drop the file or folder on the download window.
- The Preview option allows uploading a small sample of the audio for the customer to preview before purchase. The system can also automatically generate a sample, but it is generally best to create the sample yourself.
- Click Settings (Optional) and select Music or Audiobook. You can also enabled the optional features below:
- If you are uploading for the shop owner, you can enable this option to send upload and content ready notifications to the shop owner. Otherwise, those notices are only sent to the user that is logged in during the upload.
- The content can be automatically added to the account that is logged in during upload. This avoids having to make a test purchase or manual order to test the content.
- Click the Upload Now button.
- Click Save to save and close the product.
The Audio (Package) is then uploaded to the server, checked, and placed in queue to be uploaded to the Content Distribution Network (CDN). You will receive one email to acknowledge receiving the upload and a second email when the content is ready on the CDN.
Best practice is to check the product on the support platforms before release. You can review the content in the browser-based Web Player by editing the product and clicking Preview at the top of the page.