The best way to integrate the shop
We’ve been receiving many questions as how to integrate the shop with a given web site. There are basically three options and to help select the right one, I want to explain them in this blog post in detail.
The three options are “sub domain”, “direct link” and “iframe”. The table below shows what a customer sees in the browsers address bar when navigating to the integrated shop (in this case a shop for the domain “www.myshop.com”).
|
Integration Option |
Brower address bar |
Note |
|
Sub domain |
The “shop” after the https:// can be anything |
|
|
Direct link |
The “/1/2” are only examples for other numbers |
|
|
iframe |
The “shop” behind the www.myshop.com/ can be anything and it can also be left away to operate the shop on the root level |
Typically the “sub domain” option is the best way to go. However, there are exceptions to the rule and so I want to go a little bit into detail on the three options.
Sub Domain
The “sub domain” option is clearly the favorite choice. It lets the customer stay on the domain, is very easy to get to because it doesn’t require deep paths or parameters to remember, can be bookmarked, is available for all content categories and finally is the best choice for SEO making sure the page is high in rankings.
The only downside of “sub domains” is that the sub domain (the “shop” in the example above) needs to be set with the DNS registry. Typically this is a free service of the company with which you have registered your domain. I’ll provide a few instructions on the process below.
Direct Link
With the “direct link” option the users leaves the current web site and it directed to www.flickrocket.com. Of course your shop design will still be used, but the fact that the domain in the browser’s address bar changes will confuse some customers. It can hardly be accessed directly because the URL with parameters can’t be easily memorized. Bookmarking remains possible.
This option is typically used for customers who do not (or not yet) have their own related domain for the content or are somehow not able to set up a sub domain.
Also important is that this type of integration must not be used for restricted content.
iframe
With the “iframe” option the shop is embedded in a certain area on an existing web page. This means you can have other content above, below, left and right of the actual shop which is sometimes useful and the entry link to the shop can easily memorized.
The problem with iframes is that while the user stays on the domain, the navigation in the shop is a problem. It doesn’t reflect in the URL displayed in the browser’s address bar which also means that bookmarking a specific shop page does not work.
A very important factor which causes a lot of problems with iframe integration is that the browser’s “Back” button does not work and must not be used – because it navigates the page and not the shop inside the page – resulting in closing the shop.
Using “sub domain” integration
As we have learned above, in virtually all cases the “sub domain” integration is the best choice – if it can be configured. As I wrote earlier, a “sub domain” is typically nothing which can be set up locally (except you run your own name servers in which case all I am writing here is not new to you). Instead, you need to work the company which manages your DNS server, which is typically the company with witch you have registered your domain (and which most often also hosts your server).
The option to create a sub domain will typically be exposed in their web interface after you log in. In case it is not, you need to call them and let them know what to do, which is the following:
- 1.Create a new sub domain for your webshop (in our example this would be “shop”)
- 2.Create a C-NAME record (sometimes called ALIAS) for the newly created sub domain which points to “shop.flickrocket.com”.
Once you have done this, you can check that it is set up correctly by opening a command line window (Windows Key + R, type “cmd” and press enter) and performing the ping command as shown in the screenshot below.
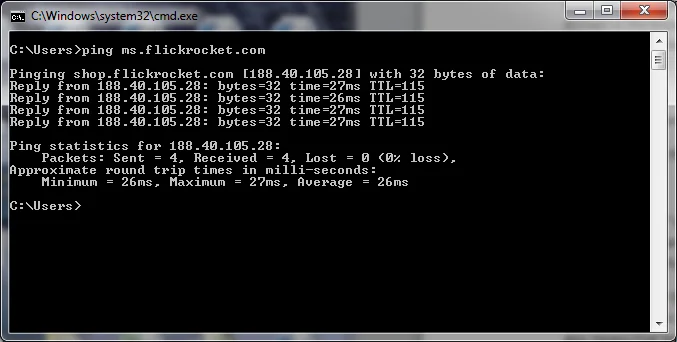
Of course instead of the “ping ms.flickrocket.com” you must use your own domain. If we are staying with our example above, this would be “ping shop.myshop.com”.
If the result is as shown in the screenshot (read “Pinging shop.flickrocket.com…” your domain is set up correctly.
The last missing step is to set up the new sub domain correctly in the FlickRocket web interface. Until you do this, you will see a message like the following when you navigate with your browser to your newly created domain.
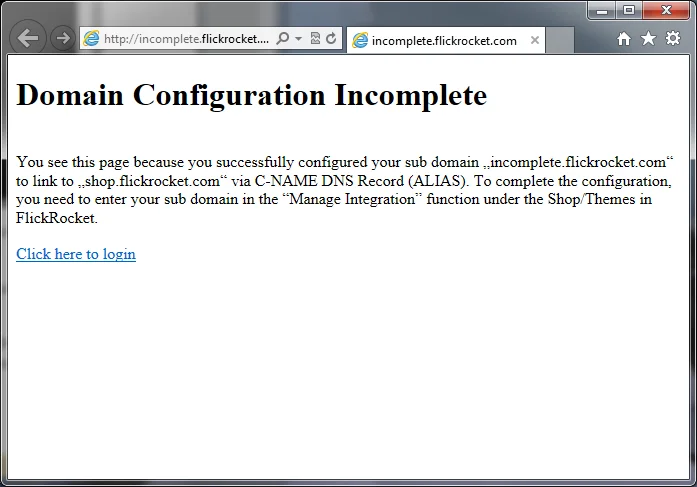
To finish the configuration, you need to login to the FlickRocket web interface and select Shop -> Themes -> Manage Integration and select the Theme you want to use.
The following screenshot shows what to enter to bring your shop live under the domain you have selected.
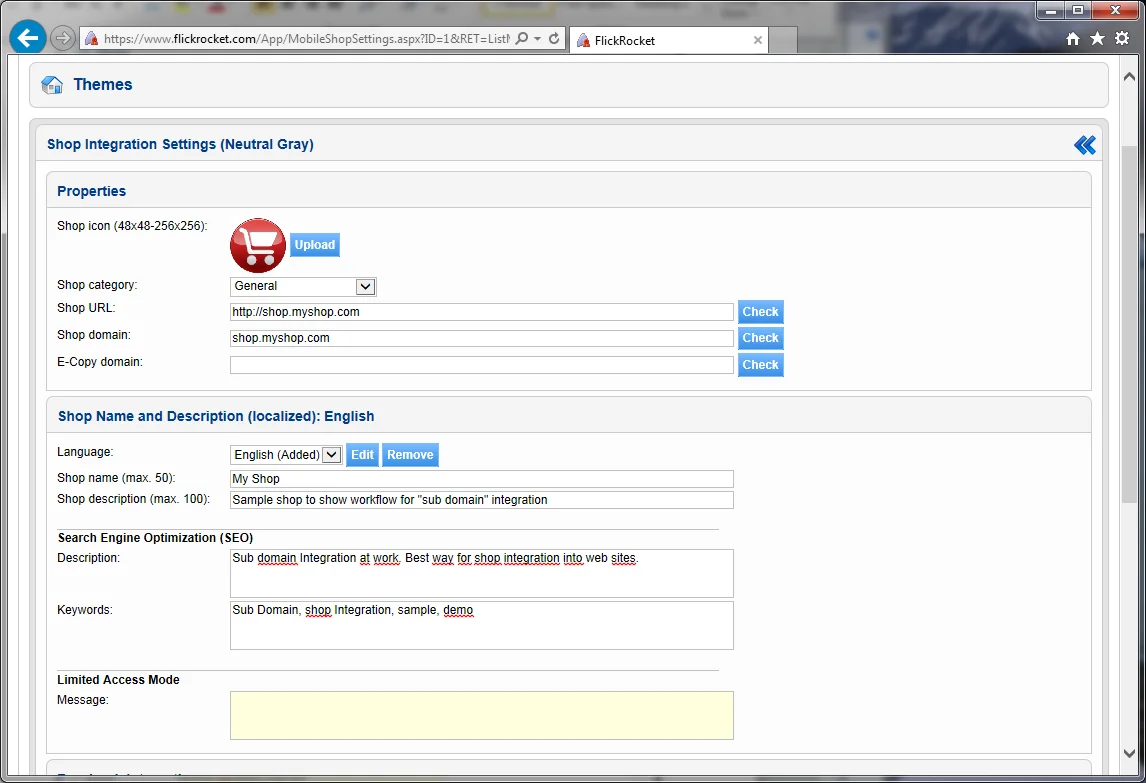
The field „Shop domain“ needs to contain the exact domain name (not precended by “https://”) you have selected. This is the domain under which your shop can be reached directly.
The field “Shop URL” needs to contain the URL to which you want the customer to navigate when he selects your shop in FluxPlayer. This can directly be the sub domain (this time preceded by “https://”) or any other URL you migth want to have the user navigate to before reaching the shop.
Please note that you will not be able to save if the sub domain is not configured correctly.
That’s it, now you are done!
Using “Direct link” integration
As we’ve learned in the initial section, using “direct link” integration is typically the way to go if there is a problem setting up a sub domain for you (except it is restricted content).
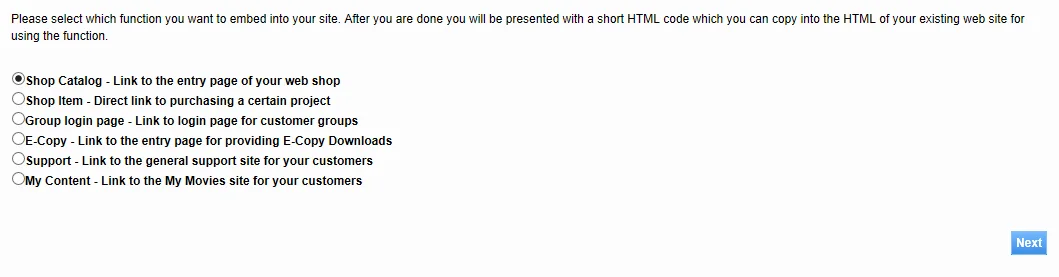
Fortunately, this does not involve an external parties, and can be done directly from the web interface. Just go to Shop -> Integrate features in website and follow the steps.
In the first step, select “Shop Catalog” (or “Shop Item”, if you have just one product).
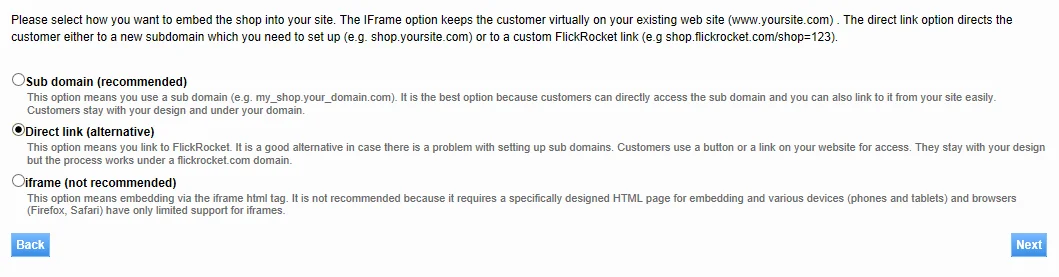
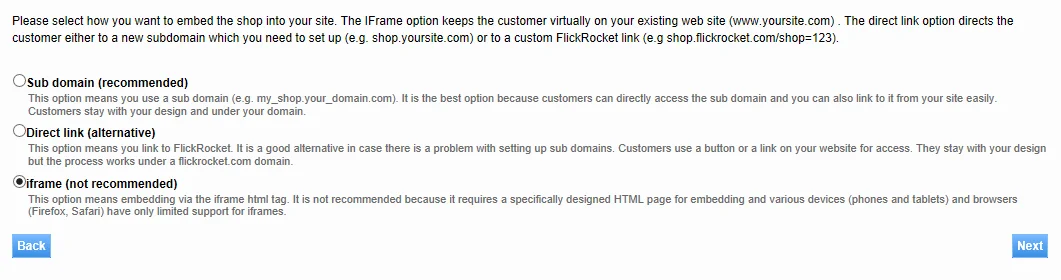
In the second step make sure you select the “Direct link” option.
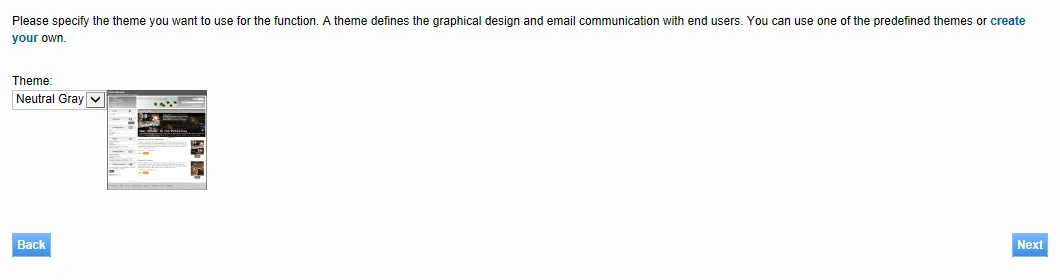
In the third step select the theme you would like to use. If you select the different themes from the drop down box, small previews are shown.
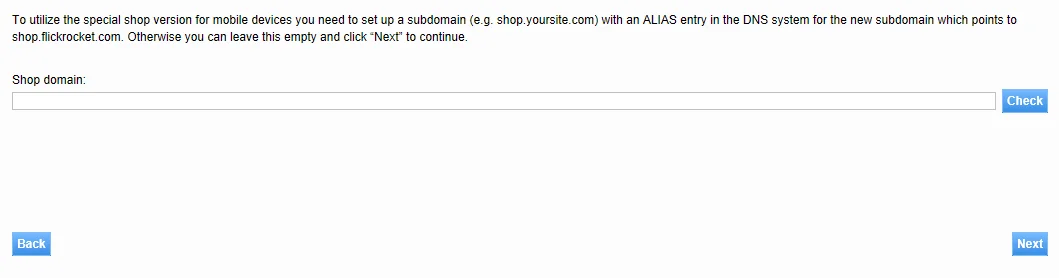
You can skip the following step because it is used for “sub domain” integration.
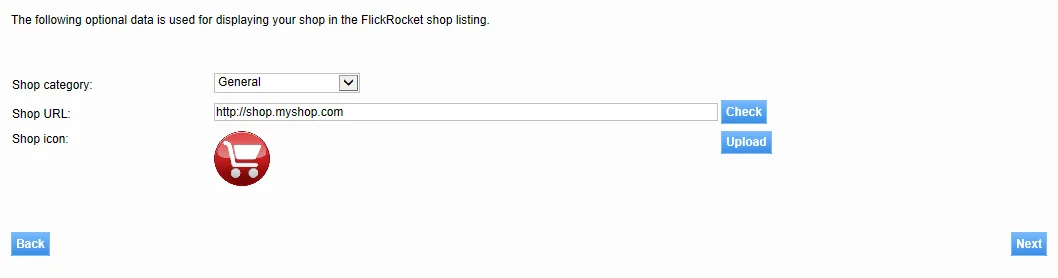
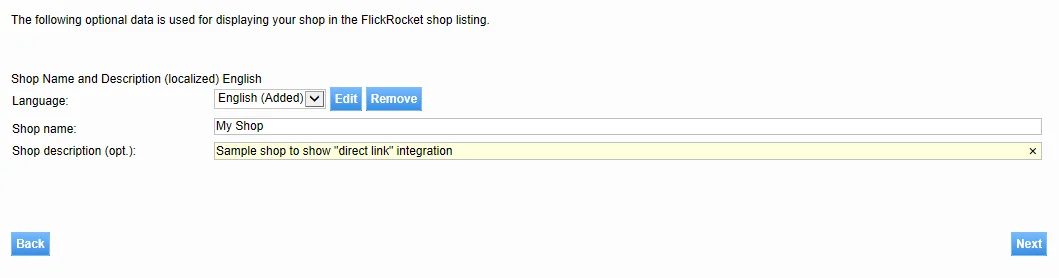
On the following step you should select a category for your shop, specify the URL for the shop (this time with preceding “https://”) and upload an icon for your shop.
This information is used when your shop is displayed in FluxPlayer.
The following step’s information is also used when your shop is displayed in FluxPlayer.
The following step contains information about Facebook’s single sign-up which we’ll skip over for the moment. There will be a separate blog post about it.

Now you are done. You just have to embed the HTML code into your website to link to the shop.
Using “Iframe” integration
As we’ve learned in the initial section, using “iframe” integration is typically not a good option. However, I will still describe it here in short form to give you the complete picture.
Basically the “iframe” process is just like the “Direct link” option . Just go to Shop -> Integrate features in website and follow the steps.
In the first step, select “Shop Catalog” (or “Shop Item”, if you have just one product).
In the second step make sure you select the “iframe” option.
The following steps are identical to the “Direct link” option and so I won’t describe them step by step except for the last one.
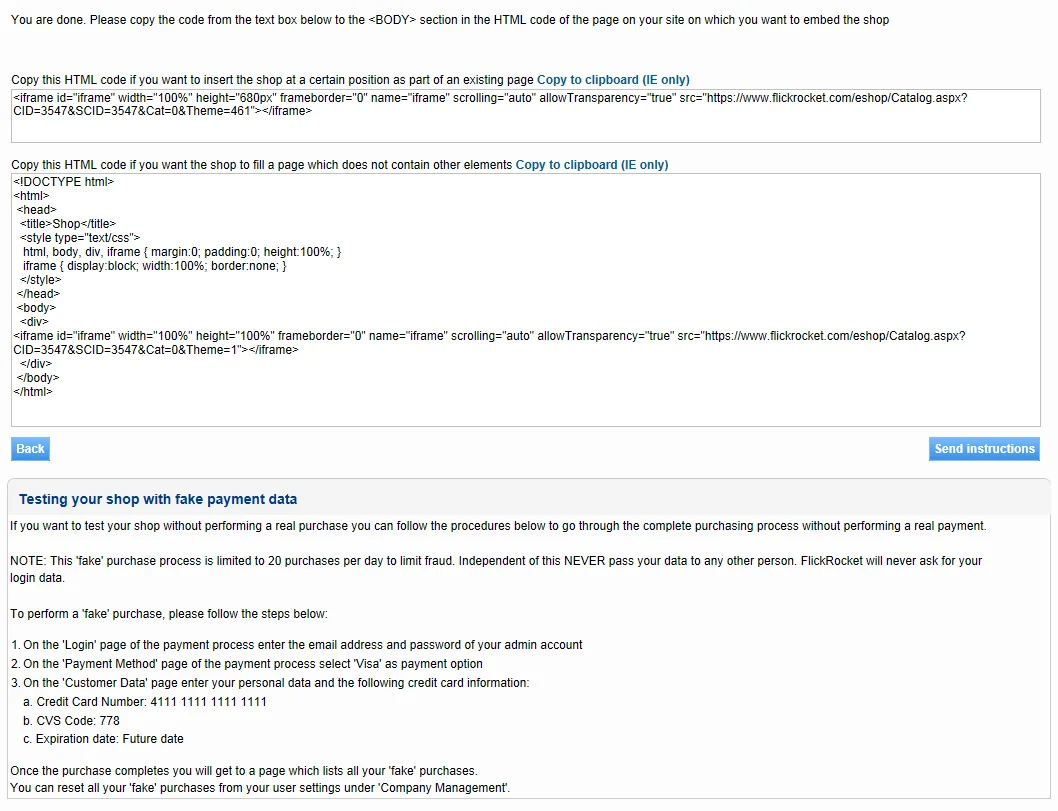
As you can see, you will get two different HTML code snippets. The first is in case you want to embed the shop in a certain section while the second is in case the shop should essentially fill the whole page.
It is important to say that the above described limitations of the iframe integration are valid in both cases.
Summary
I hope this post clarifies the differences in function and setup for integration of the shop with your site. As discussed “Sub domain” integration is clearly superior to the other options and you should really try to make it happen. Remember that you are only doing this once - but you’ll be working with the shop for a long time.